I really hate to lose momentum on a project, but that was more-or-less happening with the short base-loaded whip antenna I was making after the pattern of the QRPguys DS1; the mounting wasn’t going to fit on the tripod head, so I ordered new copper clad board (G10 this time), and for no reason, the loading coil parts were sitting on my bench, ready to go, for several weeks. I got as far as cutting out and shaping three blanks for the mounting board … and there they all sat.
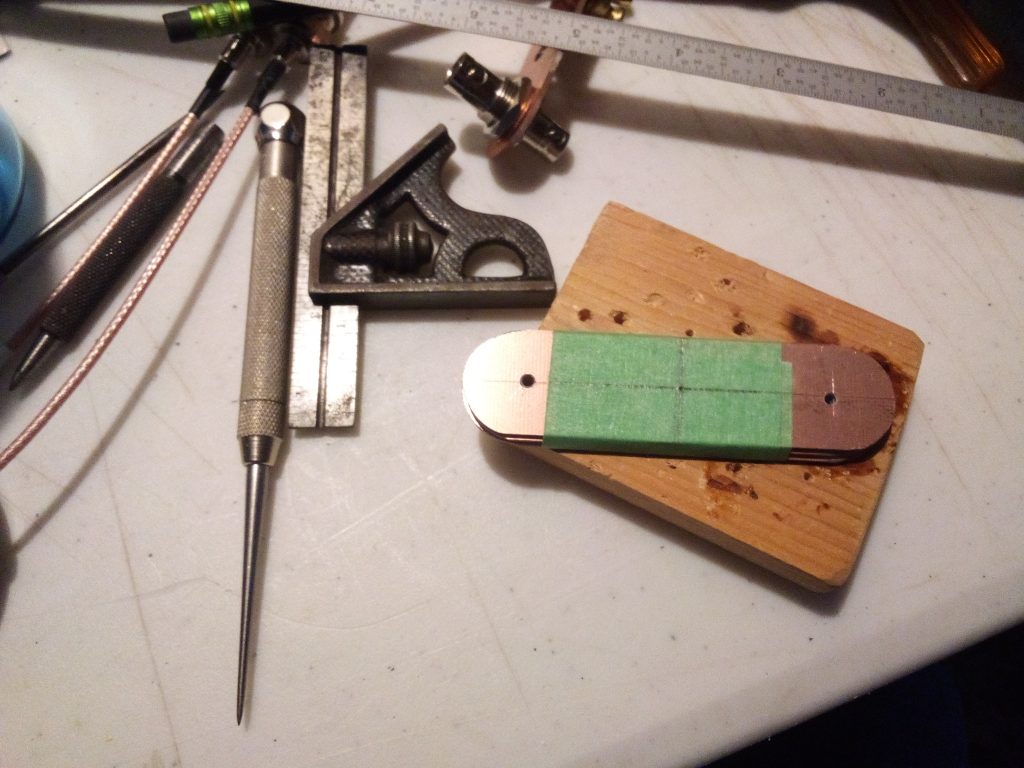
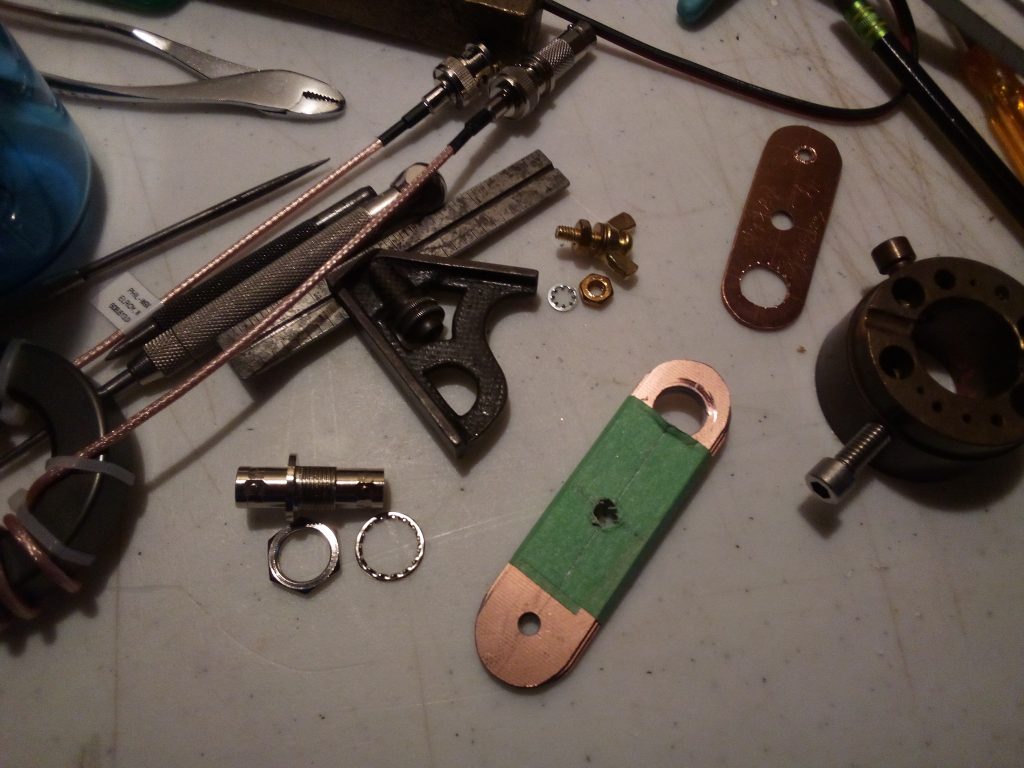
It was probably some combination of my quick and easy common-mode choke project and the rain-turning-into-6-inches-of-snow that greeted me this morning, but I finally got that project going again. Drilling the holes in the boards was the first step:
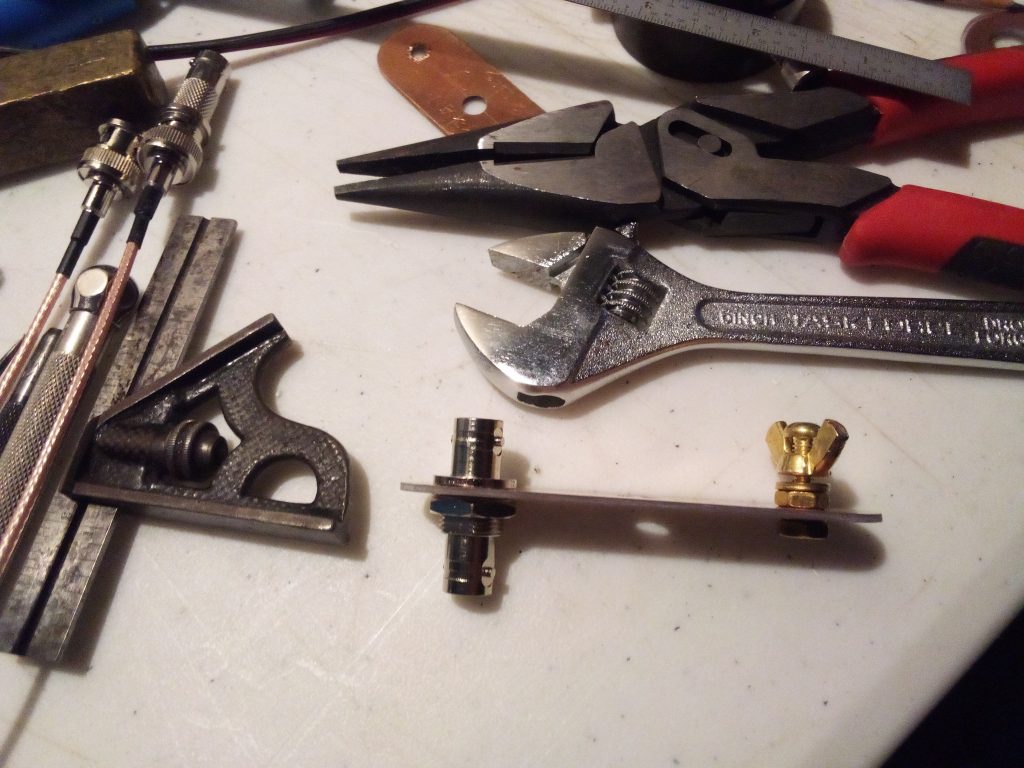
Next, the loading coil. I started by stripping the insulation from the end of the magnet wire, a thing that is easier said than done! Thread it through the first hole in the PEX pipe and solder it to the center pin of the BNC connector:
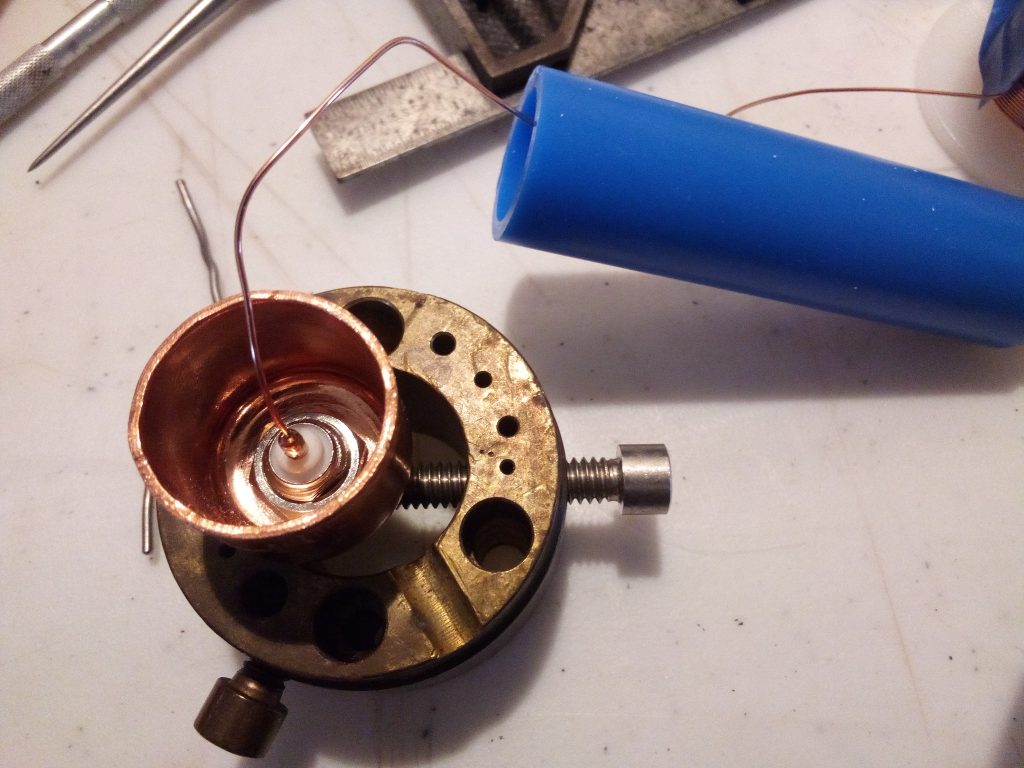
Slide the cap on, insert and tighten the 4-40 screw, and start winding! It’s almost a requirement of winding any coil that somewhere along the way you lose count, or at least worry that you might have, so a pause midway to confirm that yes, it is fifteen turns, and continue to the end. Quick, a piece of tape to hold it while fishing the wire through the end holes! Another bit of tedious enamel-stripping, another 4-40 screw, and it’s all over but the heat-shrinking!
I wore gloves and used the radiant heat from the electric stove to shrink the tubing and I think it did a really nice job!
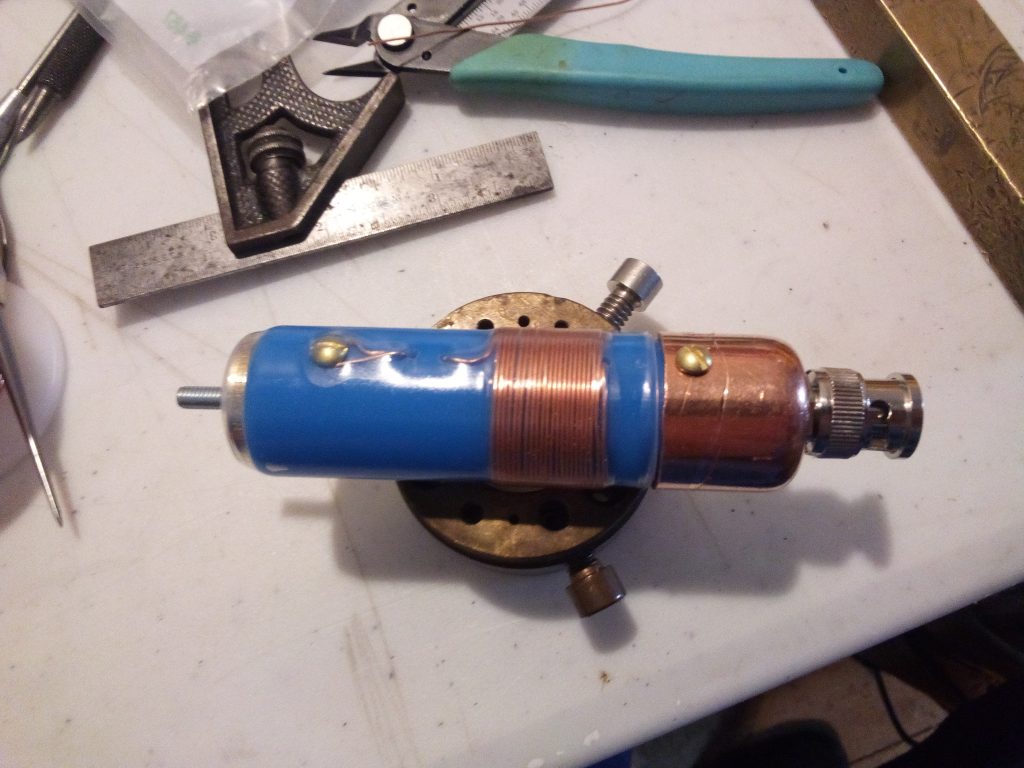
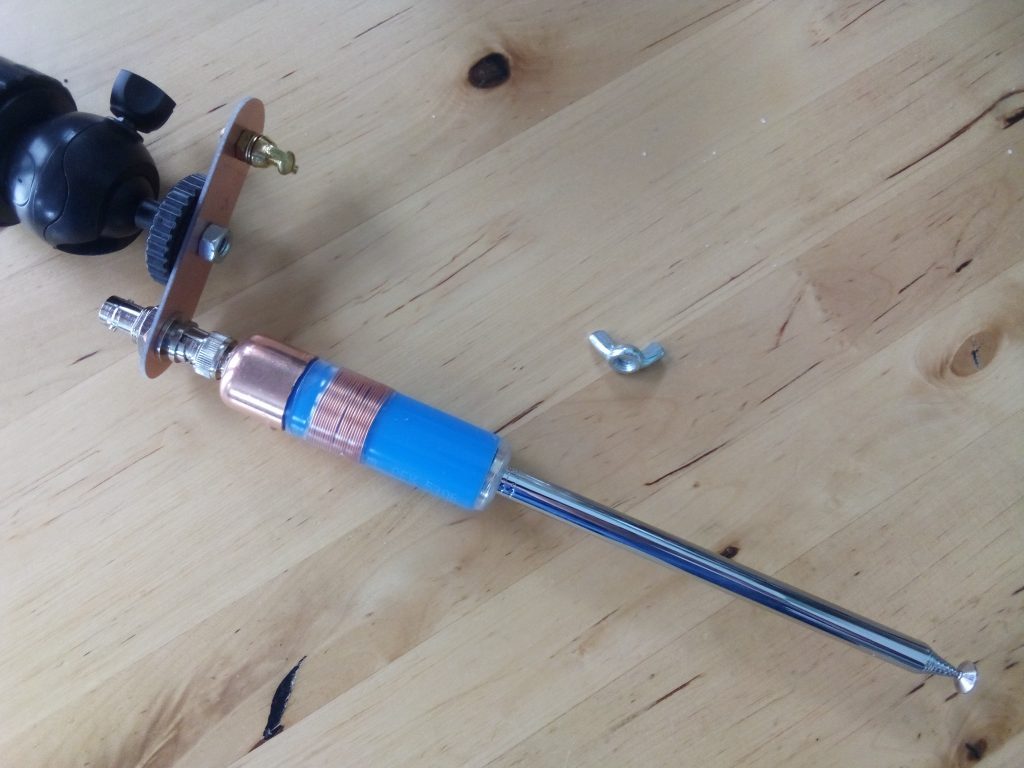
Next step: the 40 meter coil. Don’t need that to start using it, though; it goes straight into my 6100 field pack from here.
I hope to use it in an activation very soon and I will report on its performance then.
Thanks for visiting driftlessqrp.com!
Comments
One response to “Finishing that antenna”
Wonderful beat ! I wish to apprentice while you amend your site, how could i subscribe for a blog web site? The account helped me a acceptable deal. I had been a little bit acquainted of this your broadcast provided bright clear concept