I am wrapping up this series of posts, so here is a set of links to the previous ones for your enjoyment and / or entertainment; or who knows, maybe you want to replace the batteries in your X6100 and prefer text and pictures to a YouTube video:
Since the last post I have been running full-charge / full discharge cycles to condition the cells, and this effort has shown some good results. After the first charge, I got about 40 minutes of receive-only operation before shutdown; on the 4th charge the radio ran for 2 1/2 hours under the same conditions. Consulting the spotty data in my logbooks from a few years ago I find this reasonably comparable to its original performance.
(I was never too impressed with the internal batteries, though they got me through my first Field Day with this radio, and saved at least one activation when I went out without charging the Bioenno external pack and it shut down on me. Never even noticed the change until I happened to look at the battery voltage on the front panel, so they are not useless at all, just underpowered. In fairness, any bigger batteries would have increased the size and weight … so what am I complaining about, anyway? Enough!)
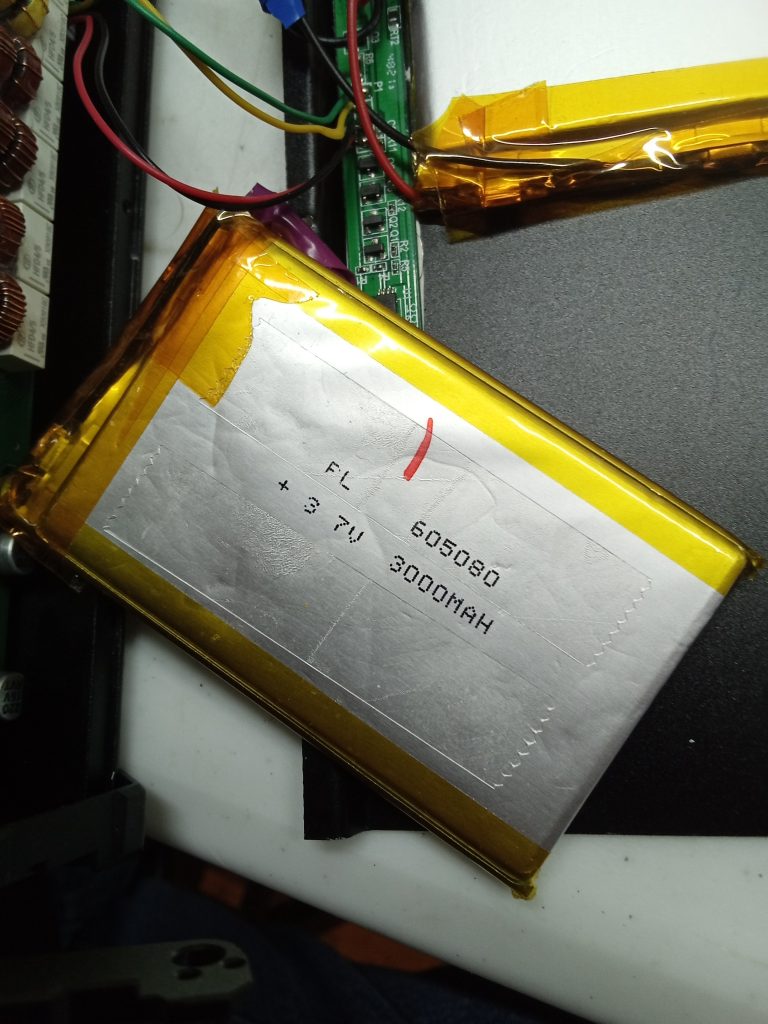
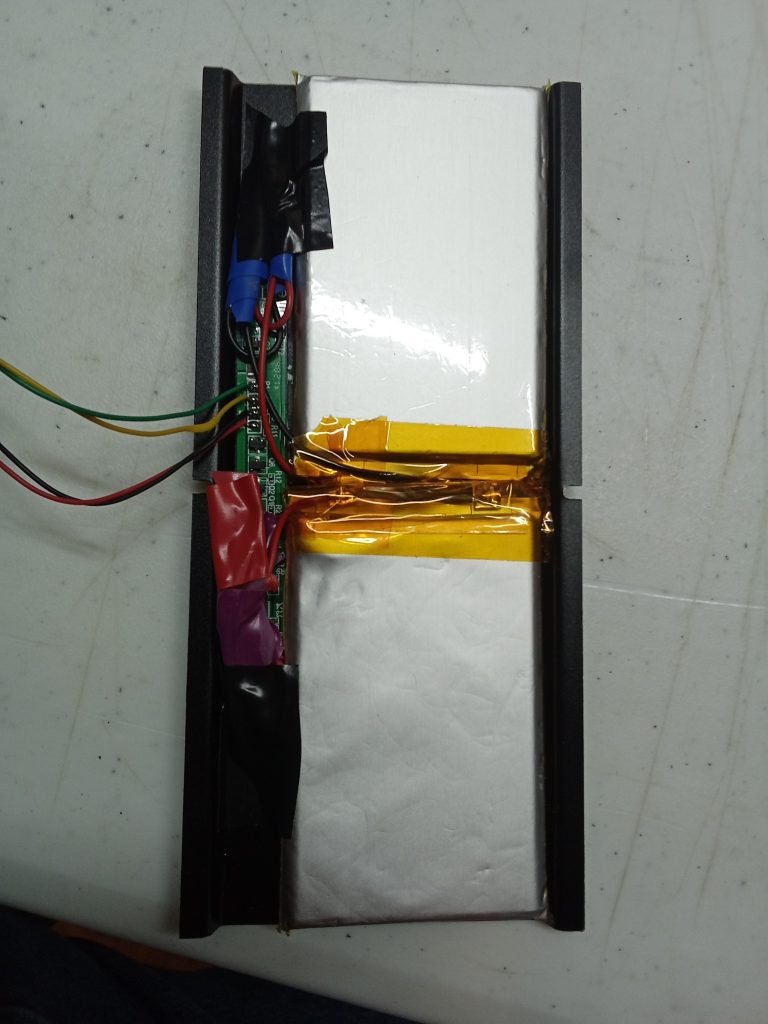
All this time the radio was on the bench with the case open and the batteries laying out; now it’s time to put everything back together. For a while now I have been wondering what to use to stick the batteries to the back cover, and I decided to try thin double-sided tape instead of the RTV silicone Xiegu used. This seemed to work okay.

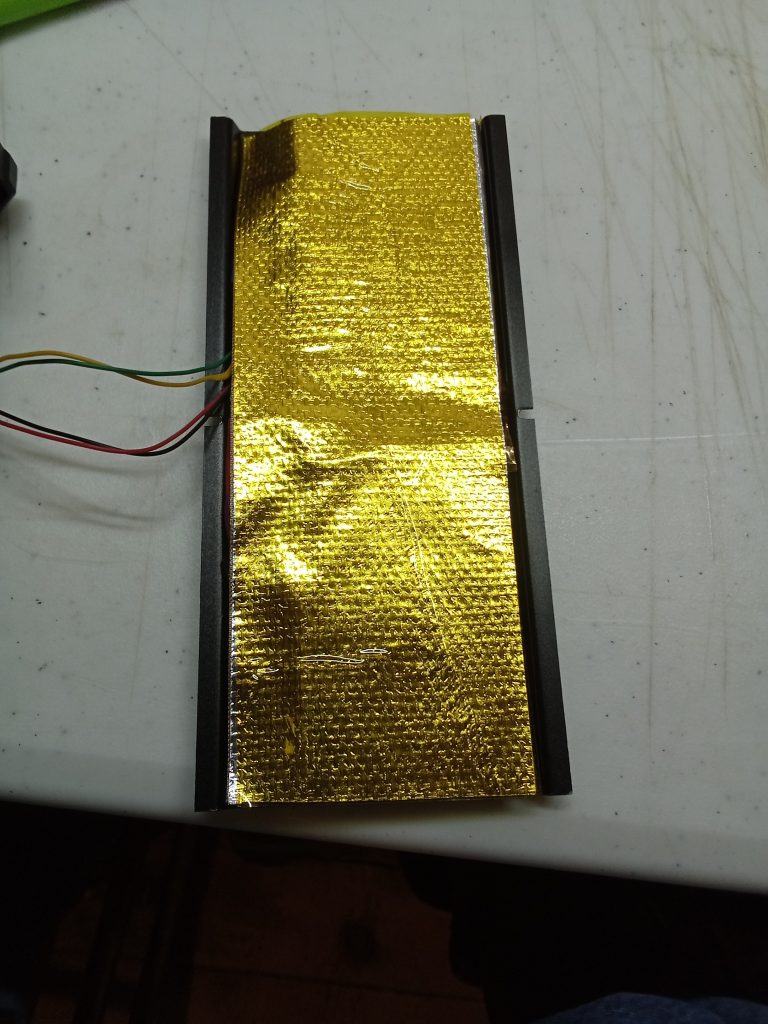
Getting the back panel on demonstrated just how tightly everything is packed in there. Reurning this radio to normal Amateur service.
Now a new look! Firmware upgrade!
For the last year or so, every once-in-a-while this radio does something weird: boots up but no audio was the most common thing, easily resolved by turning off and back on. During this battery job the volume knob quit working; stuck permanently on 30. Nothing worked, including factory reset. Diagnosis: bit rot.
Downloaded the latest package from Radioddity, wrote the image to an SD card, followed all the instructions … (well, not the ones about writing the .iso, because Linux) and it all worked flawlessly!
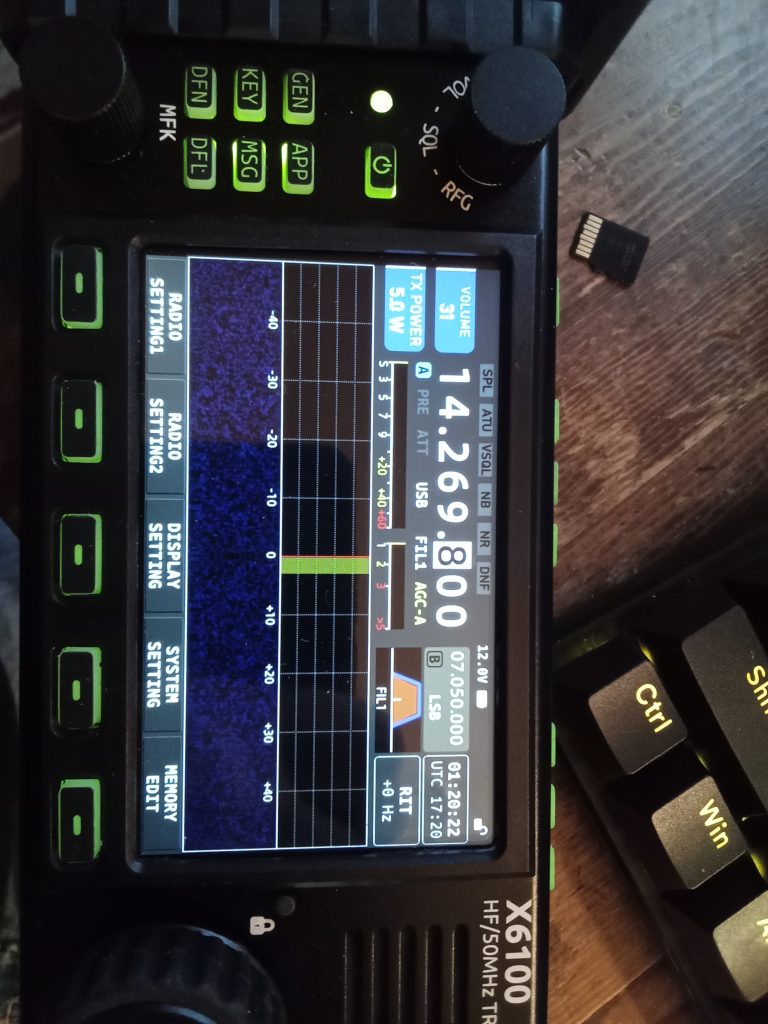
Result, everything works perfectly again. Ready to try it out in the field! Watch for an activation report soon!
If you are going to do your own replacement like I did and I left anything out or my description seems unclear, feel free to ask questions in the comments! On the same note, it’s also possible to buy a complete replacement; cells, BMS board, and back panel, fully assembled, for around $100, it looks like a plug-and-play job; consult your favorite search engine.
As always, thank you for visiting driftlessqrp.com!