… the end of the story, or is it?
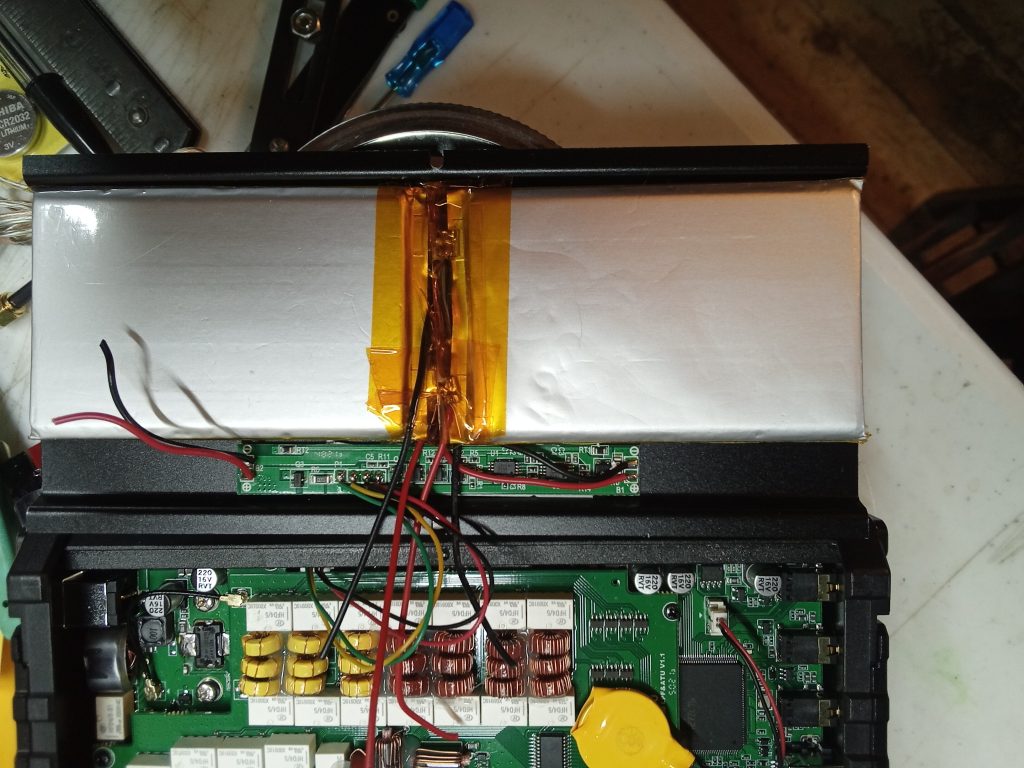
With that computer out of the way, now I have room to work!
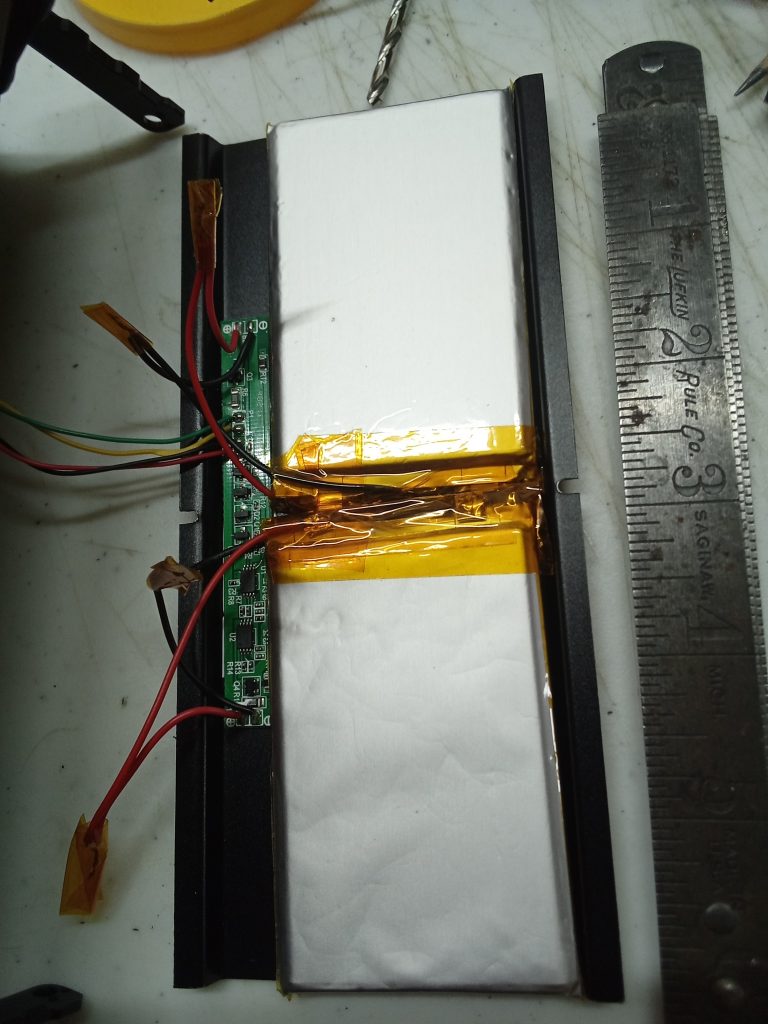
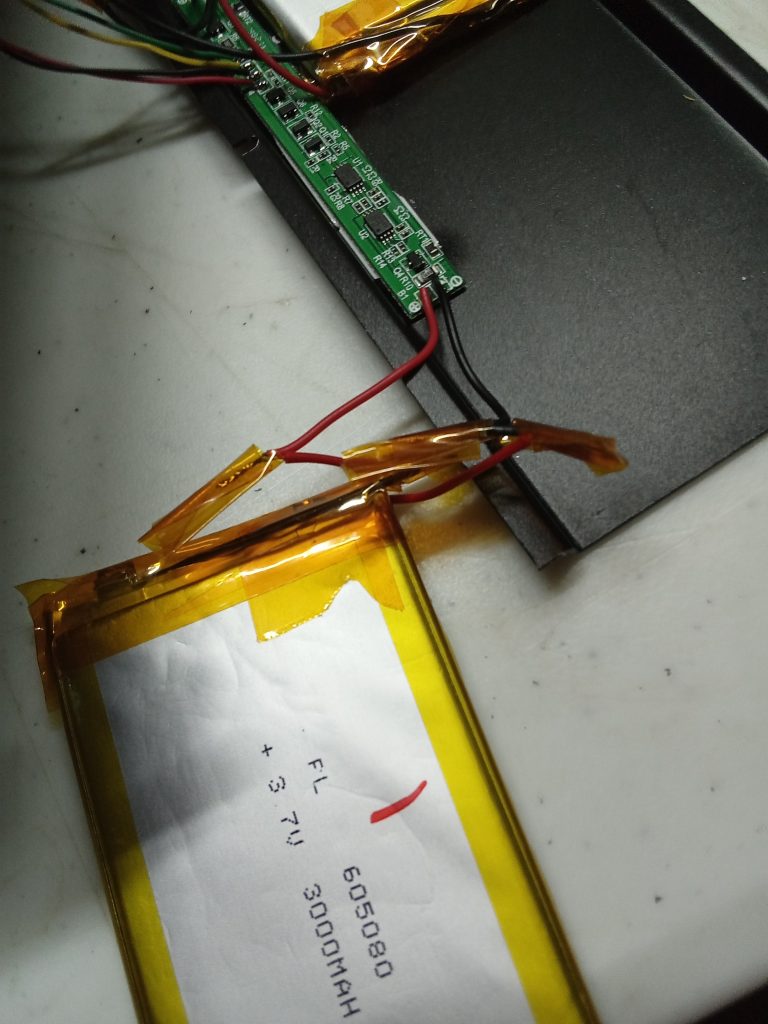
I decided against using connectors because of the limited space inside the case.
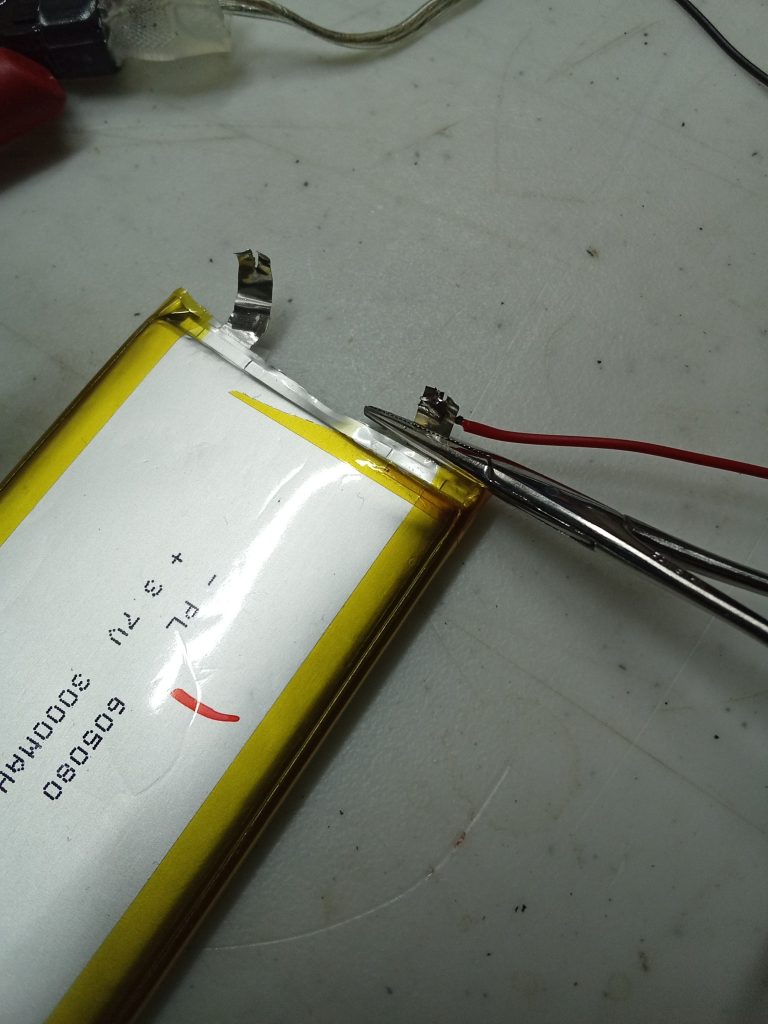
Soldering was easy and quick with the usual .015 rosin core 63/37 solder, so the heat sink never even got noticeably warm. I used the wire leads from the new batteries BMS boards because they were the same gauge as the original ones.
When that was done I covered the tabs with Kapton tape.
Well, alright then! Plug in the charger! The green LED on the front panel starts blinking … and it’s still blinking next morning. This is … not normal.
Disconnect the charger; green LED goes out (this is normal). Try to turn on the radio; nothing happens. This is BAD.
Close inspection of my work eventually reveals that when I soldered leads onto the second battery I inadvertently reversed the color code – red to negative, black to positive. Whoops! Whoopsie!
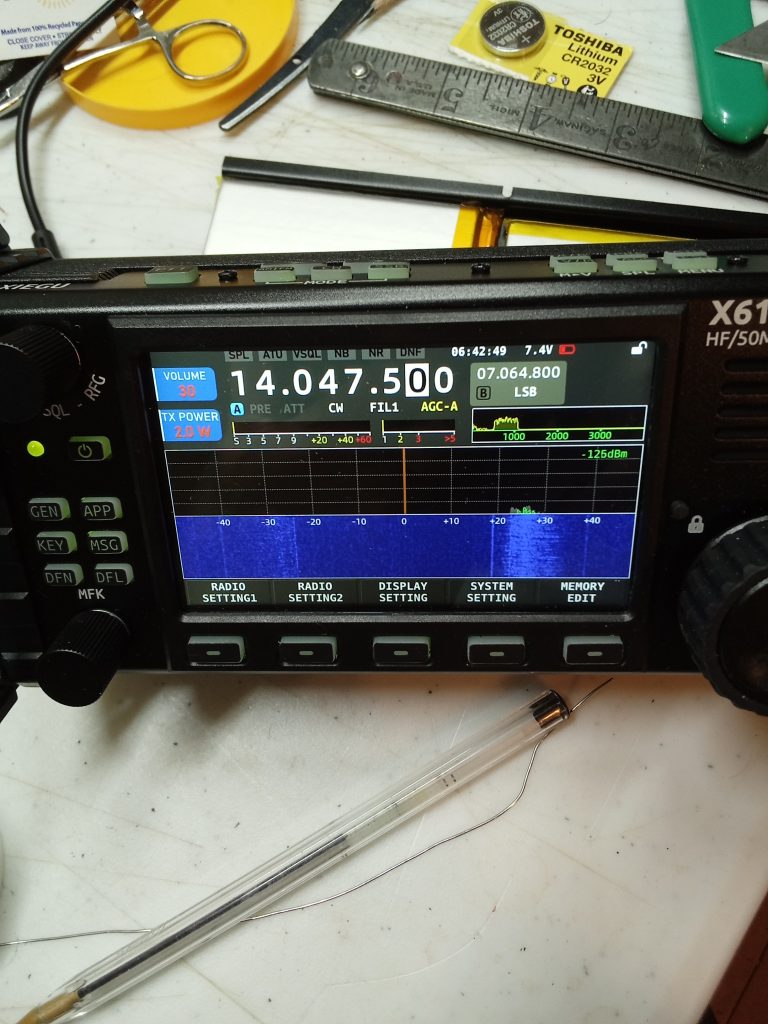
Now the radio turns on, though the battery icon is red, and 7.4 volts is only two tenths above the automatic shutdown point. Clearly no charging occurred.
So, I plug the charger back in, green blinking happens, I leave it going overnight.
Sometime between 2 and 3 AM the blinking changes to steady green, charging is (theoretically) complete. This time the radio turns on! Hurray! This time the icon is yellow and only shows about 1/2, so I let the radio run at low volume until the battery is exhausted. Repeat this cycle; this time the icon shows 3/4 and the radio runs for almost 2 hours. Improvement!
This is a good place and time to introduce a link to a page I probably should have read a long time ago:
Xiegu X6100 Battery Charging Questions and Answers
It’s good to learn that the radio has a fairly sophisticated BMS, and apparently I didn’t damage it with reversed polarity (fingers-crossed emoji!). I am going to ignore the first two attempts and do the four charge/discharge cycles Xiegu recommends, starting with the present one. I am also going to give it a few hours on the charger in not-blinking mode (each cycle) to allow the BMS to do balancing in constant-voltage mode.
It was less pleasing to learn that I was not doing some things that Xiegu recommends, like turning off the charger in the Settings1 menu when not intentionally charging; this may have shortened the battery life.
Oh well, live & learn!
In a few days I will make another post about the battery conditioning and the results thereof.
Another repair story
Now that I have the work table back I can get some other soldering done, too!
Back last December I found a bad power cord in my field kit and dropped it on the bench to fix Real Soon … and I found it again, still unfixed, a few days ago.

A quick note about powerpole disassembly:
You use a narrow screwdriver to catch the very tip of the contact and lift it up until it’s clear of the spring, then push backwards. Contact will slide out of the housing.

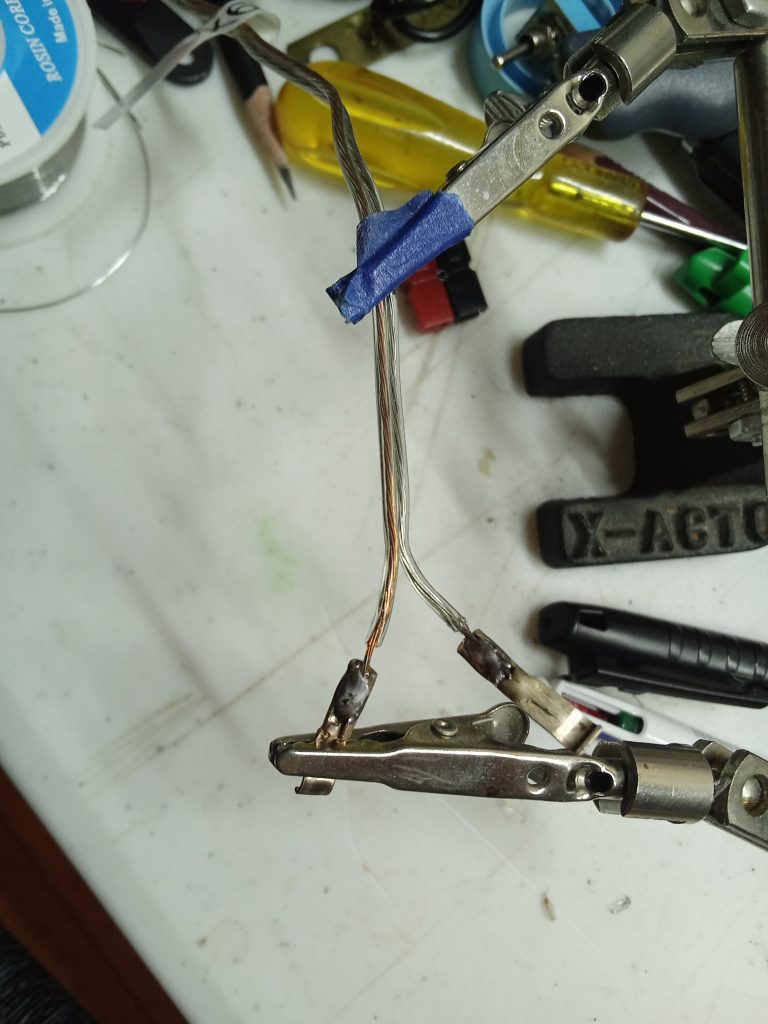
Remember: Tongue Top – Red Right!

I am hoping that the strain relief this provides will avert another failure!
Unrelated photographs


Thanks for visiting driftlessqrp!