I no longer recall the chain of URLs that led me there, but I read this article by Thomas Witherspoon over at qrper.com maybe ten days ago, and that was what got me started on this project.
The crucial part of the article that caught my eye (and imagination) was this:
“My friend Adam (K6ARK) did some early experimenting with KH1-friendly antennas and discovered that an end-fed random wire with a 4:1 transformer, a 15 ft radiator, and a 7.5 ft counterpoise will deliver coverage from 40 through 15 meters (all five bands) with the KH1’s internal ATU.”
Now it just so happened that I already had a K6ARK transformer kit, but I never decided on one of the many possible ways to use it; now I had a goal in mind.
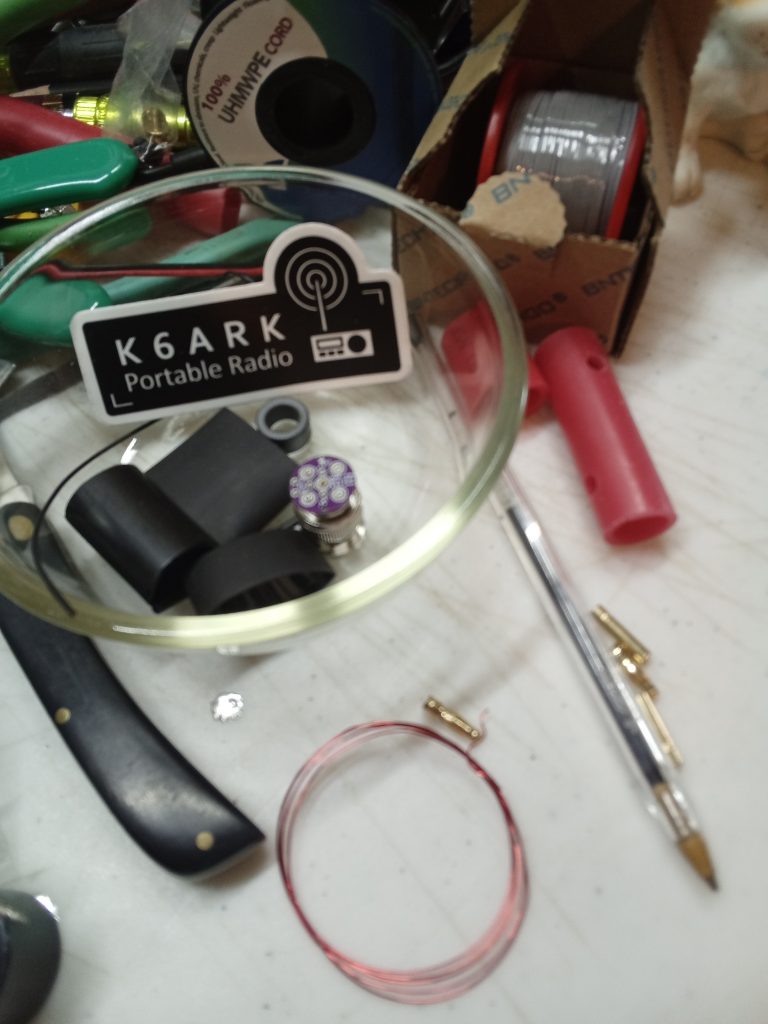
Full details, so you can follow along, at K6ARK’s Build Instructions pages: this is the 4:1 unun version.
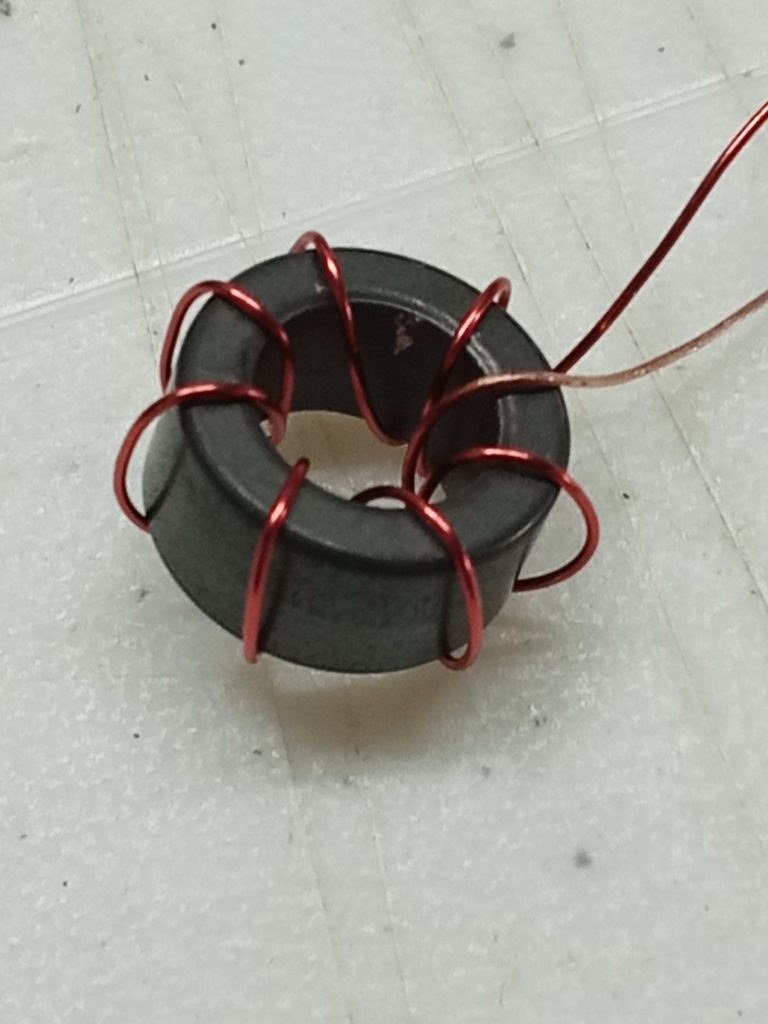

You can observe in the picture above that I have carefully removed the enamel (using a small piece of sandpaper) from the magnet wire; for decades people have been telling me stories about enamel insulation that will melt away under the heat of soldering, but that never works for me. Bare copper solders cleanly, every time.
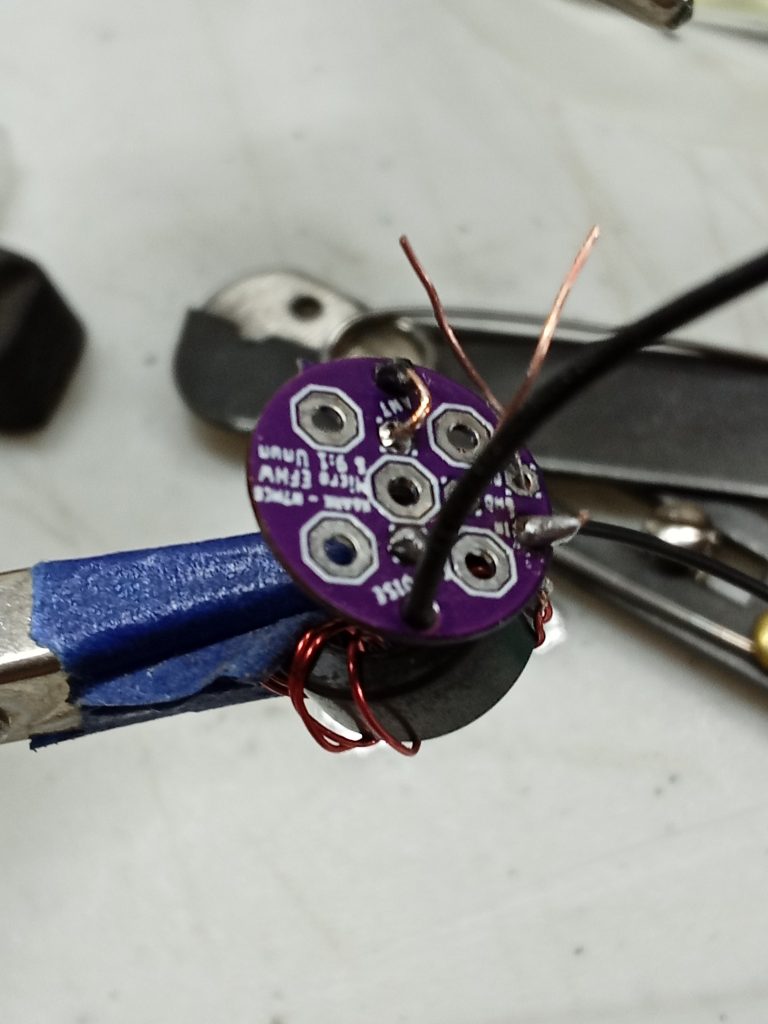
Just in passing, what a remarkably compact design! Outstanding work, K6ARK!
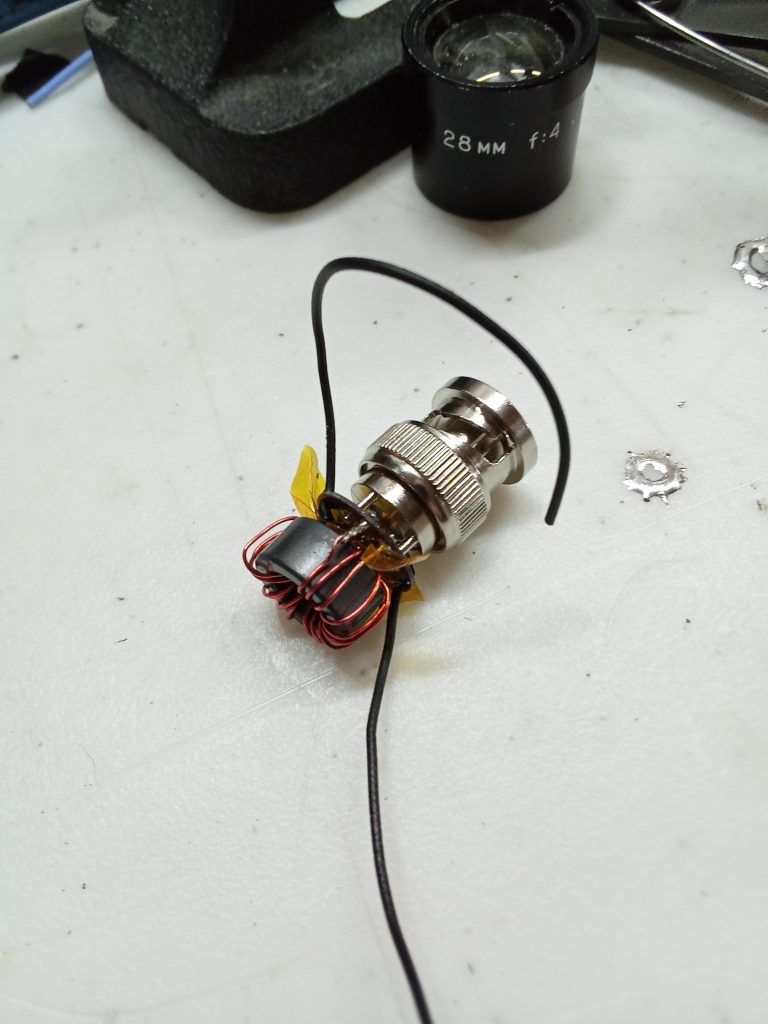
Um, yeah, about that … my first try at applying heatshrink went very sideways; before the tubing was half shrunk, the UHMWPE hanging loop had melted and the wire stubs to connect the elements seemed to be mooting the idea of catching on fire.

I kind of prefer the clear heatshrink, anyway! Cool to see the inner workings!
When the weather warms up a bit I will test it, out in a park!
Thanks for visiting driftlessqrp!